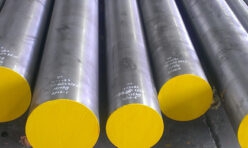
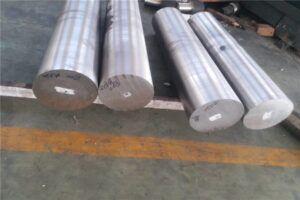
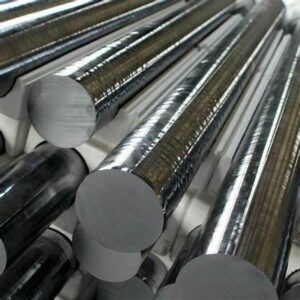
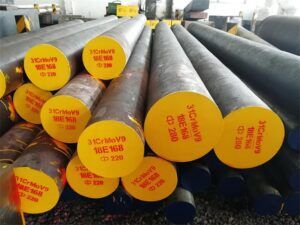
16NiCrS4 1.5715 Case Hardening Steels
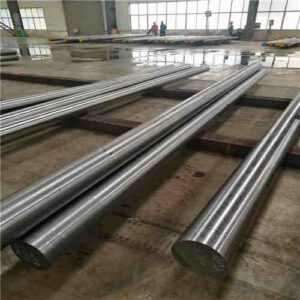
16NiCrS4 1.5715 Case Hardening Steels
Grade :16NiCrS4 Number: 1.5715 Classification: Alloy special steel
Supplying Size:Forging: 80-600mm
Standard:
EN 10277-4: 2008 Bright steel products. Technical delivery conditions. Case hardening steels
EN 10084: 2008 Case hardening steels. Technical delivery conditions
Equivalent grades of steel 16NiCrS4 (1.5715)
| EU | USA | Italy | Sweden |
| EN | – | UNI | SS |
| 16NiCrS4 | 3115 | 16NiCrS4 | SS2511 |
Chemical composition %
| C | Si | Mn | Ni | P | S | Cr |
| 0.13 – 0.19 | max 0.4 | 0.7 – 1 | 0.8 – 1.1 | max 0.025 | 0.02 – 0.04 | 0.6 – 1 |
Mechanical properties of 16NiCrS4 (1.5715)
| Steel name | Steel number | Thickness mm | +A + turned (+A +SH) Hardness HBW max. | +A + cold drawn (+A +C) Hardness HBW max. | +FP + turned (+FP +SH) Hardness HBW | +FP + cold drawn (+FP +C) Hardness HBW |
| 16NiCrS4 | 1.5715 | ≥5 ≤10 | – | 270 | – | – |
| > 10 ≤16 | – | 260 | – | – | ||
| > 16 ≤40 | 217 | 255 | 156 to 207 | 156 to 245 | ||
| > 40 ≤63 | 217 | 255 | 156 to 207 | 156 to 240 | ||
| >63 ≤100 | 217 | 255 | 156 to 207 | 156 to 240 |
+A= soft annealed
+FP= treated to ferrite-pearlite structure and hardness range
Finished condition
- a) drawn, symbol +C;
- b) turned, symbol +SH;
- c) ground, symbol +SL.
Heat Treatment
| Process | time | Temperatures |
| Austenitizing | 30 – 35 min | 880℃ |
| Carburizing | 880 – 980℃ | |
| Core-hardening | 850 – 890℃ | |
| Case-hardening | 780 – 820℃ | |
| Tempering | 1 h minimum | 150 – 200℃ |
Introduction
16NiCrS4 is a low-alloy (chrome-nickel) case-hardening steel. Machining of larger components with complex shape, e.g. gear wheels, is facilitated by the steel being soft-annealed after forging to achieve a hardness of 217 HB or below.
16NiCrS4 is standardised in SS-EN ISO 683 – 3. The hardness as supplied corresponds to “+A” (soft annealed). The (discontinued) SS-designation is 2511.
Base hardenability is an important characteristic of case-hardening steels since it determines core properties after hardening and tempering. It is normally specified in terms of a Jominy diagram, which gives the hardness distribution as read off on a sample which has been hardened by directing a spray of water at its one end according to a standardised procedure. The addendum “+HL” after the steel name signifies that the analysis is controlled such that the Jominy curve lies between limits which are stipulated in the SS-EN ISO 683 – 3 standard.


